今回はWinUI 3アプリケーションにデータグリッドを実装する方法ついてお届けします。
本記事ではWinUI 3アプリケーション開発向けのライブラリ「Windows Community Toolkit」に含まれるデータグリッドコントロール「DataGrid」の実装方法を確認してみます。
WinUI 3とは?
「WinUI 3」はWindowsデスクトップアプリケーション開発向けの最新のネイティブUIフレームワーク「Windows UI Library(WinUI)」の最新バージョンです。Windows 10や11で採用されているFluentデザイン(Fluent Design System)に対応しており、直観的で使いやすい機能とスタイルを備えたコントロールを利用できます。
WinUI 3で利用できるコントロールは?
WinUI 3で利用可能なコントロールは以下のページにリストアップされています。
単純なボタンから、グリッド ビューのような強力なデータ コントロールまで、ユーザーが使用できる 45 種類以上のコントロールが用意されています。 これらのコントロールは Fluent Design System の一部です。すべでのデバイスやあらゆる画面サイズで見栄えがよく、力強い、スケーラブルな UI を作成できます。
https://docs.microsoft.com/ja-jp/windows/apps/design/controls/
WinUI 3で利用できるコントロールのサンプルは?
「WinUI 3 Controls Gallery」というデモアプリケーションがWindows Storeから提供されています。
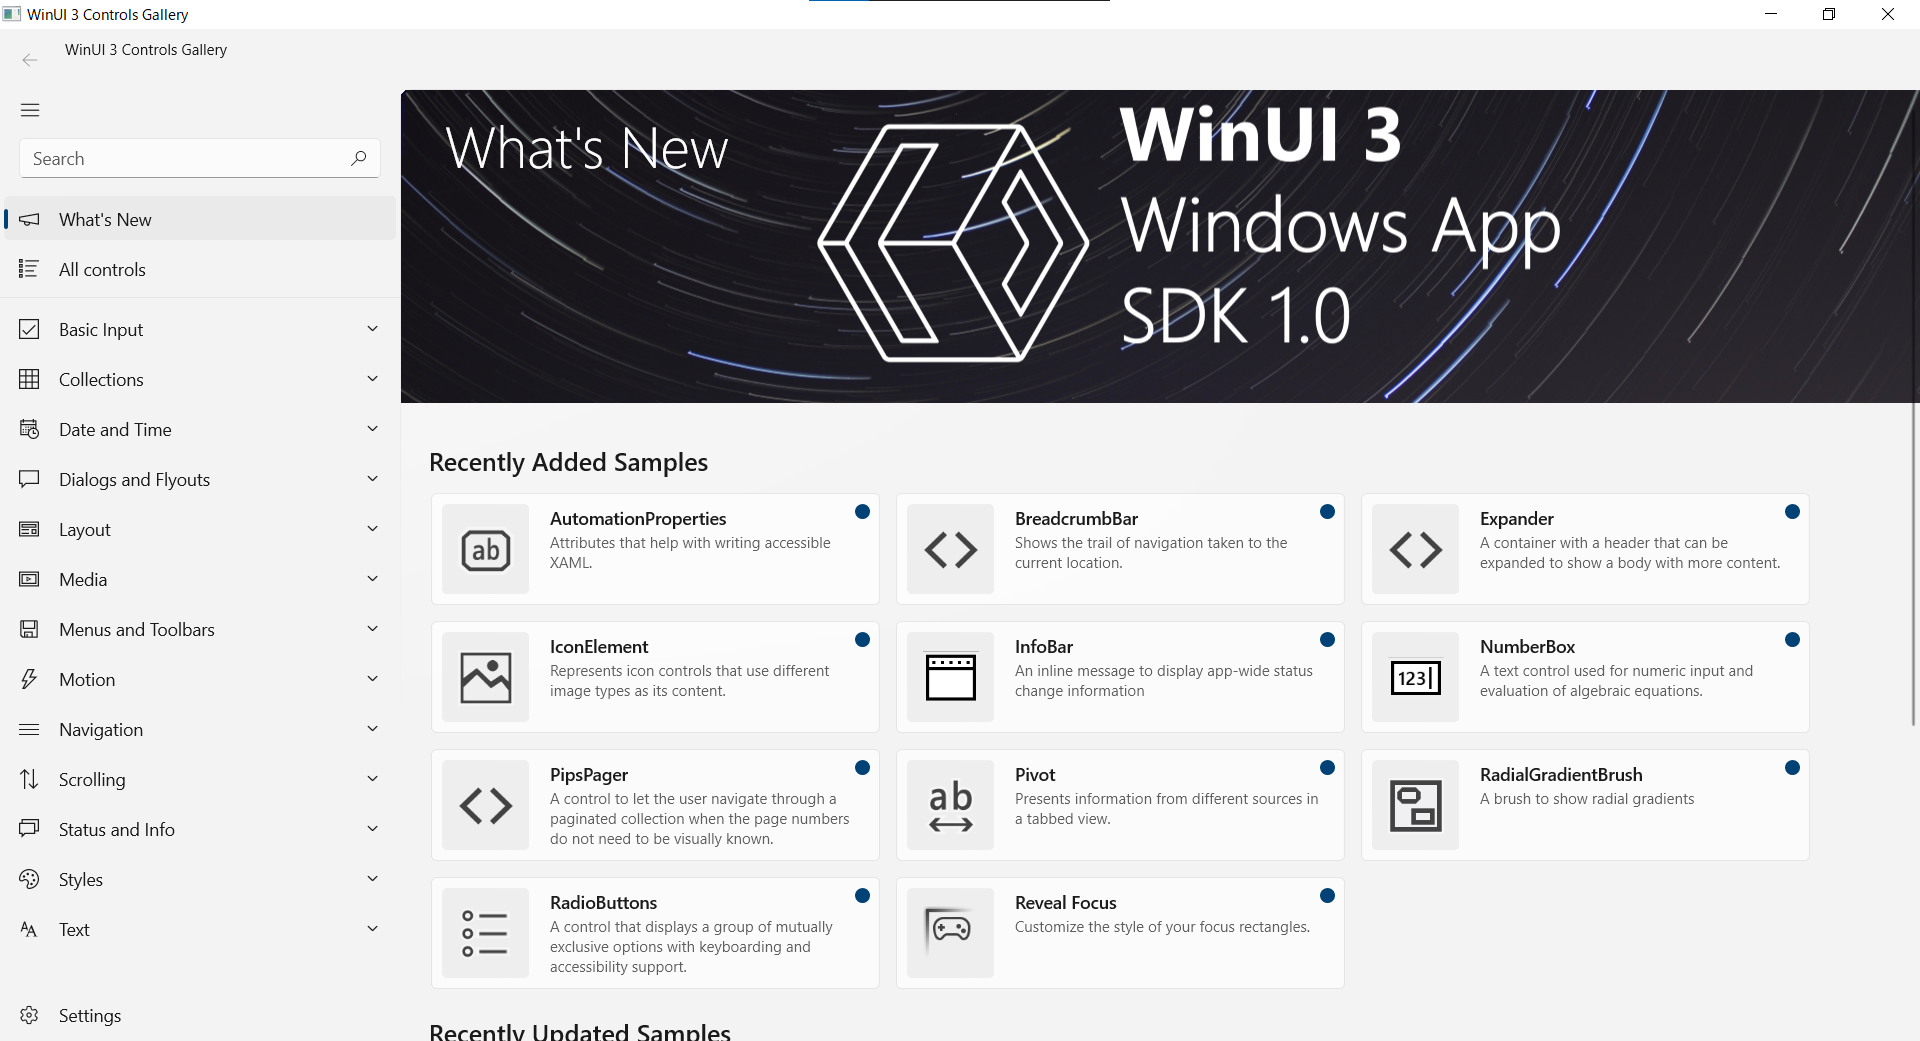
なお、WinUI 3 Controls GalleryからリンクしているMicrosoftやGitHubのコンテンツですが、現時点では未だにUWP用のWinUI 2向けのコンテンツを参照している箇所が多数あります。この辺は今後の更新が待たれるところですが、現時点では注意して内容を把握する必要があります。
Windows Community Toolkitとは?
WinUI 3アプリケーション向けのヘルパー、拡張、カスタムコントロールを収録しているライブラリです。
The Windows Community Toolkit is a collection of helpers, extensions, and custom controls. It simplifies and demonstrates common developer task for building UWP and .NET apps for Windows 10, and now for WinUI 3 as well!
https://devblogs.microsoft.com/ifdef-windows/windows-community-toolkit-for-project-reunion-0-5/
Windows Community Toolkitで利用できるコントロールのサンプルは?
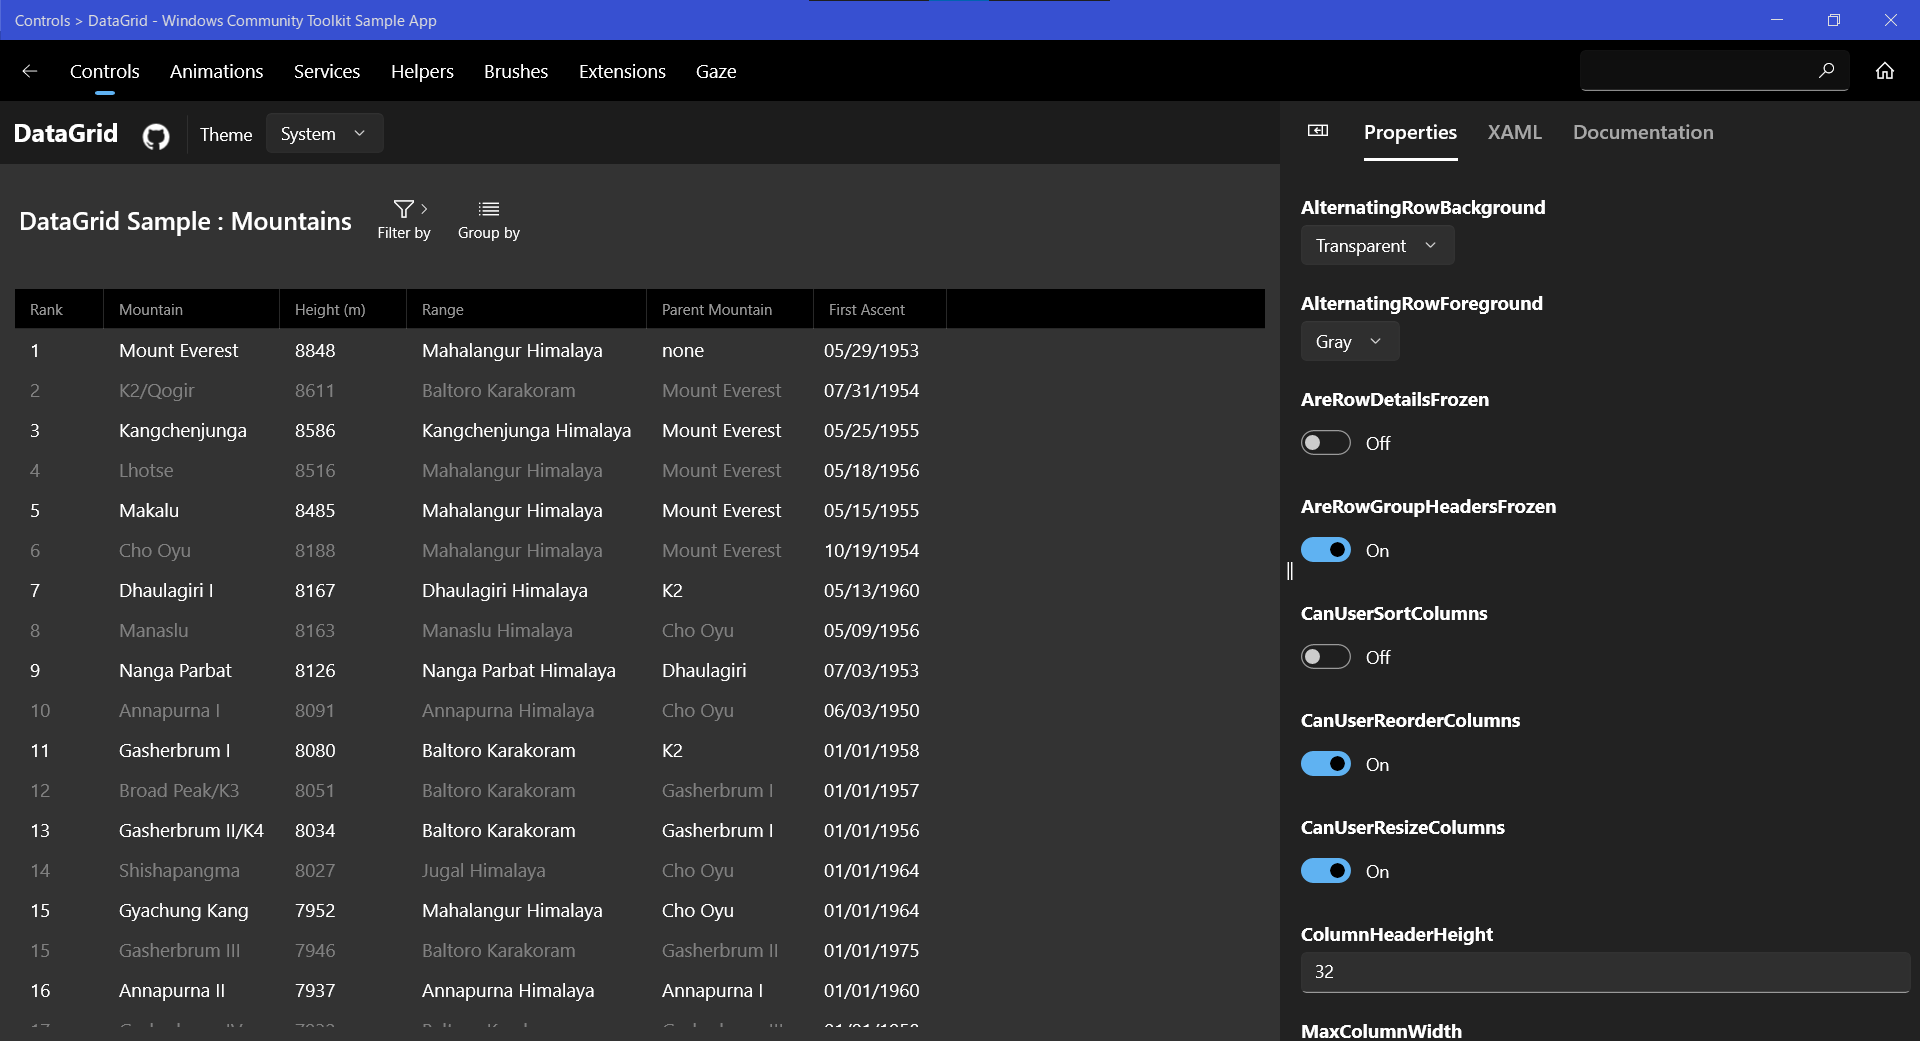
「Windows Community Toolkit Sample App」というデモアプリケーションがWindows Storeから提供されています。
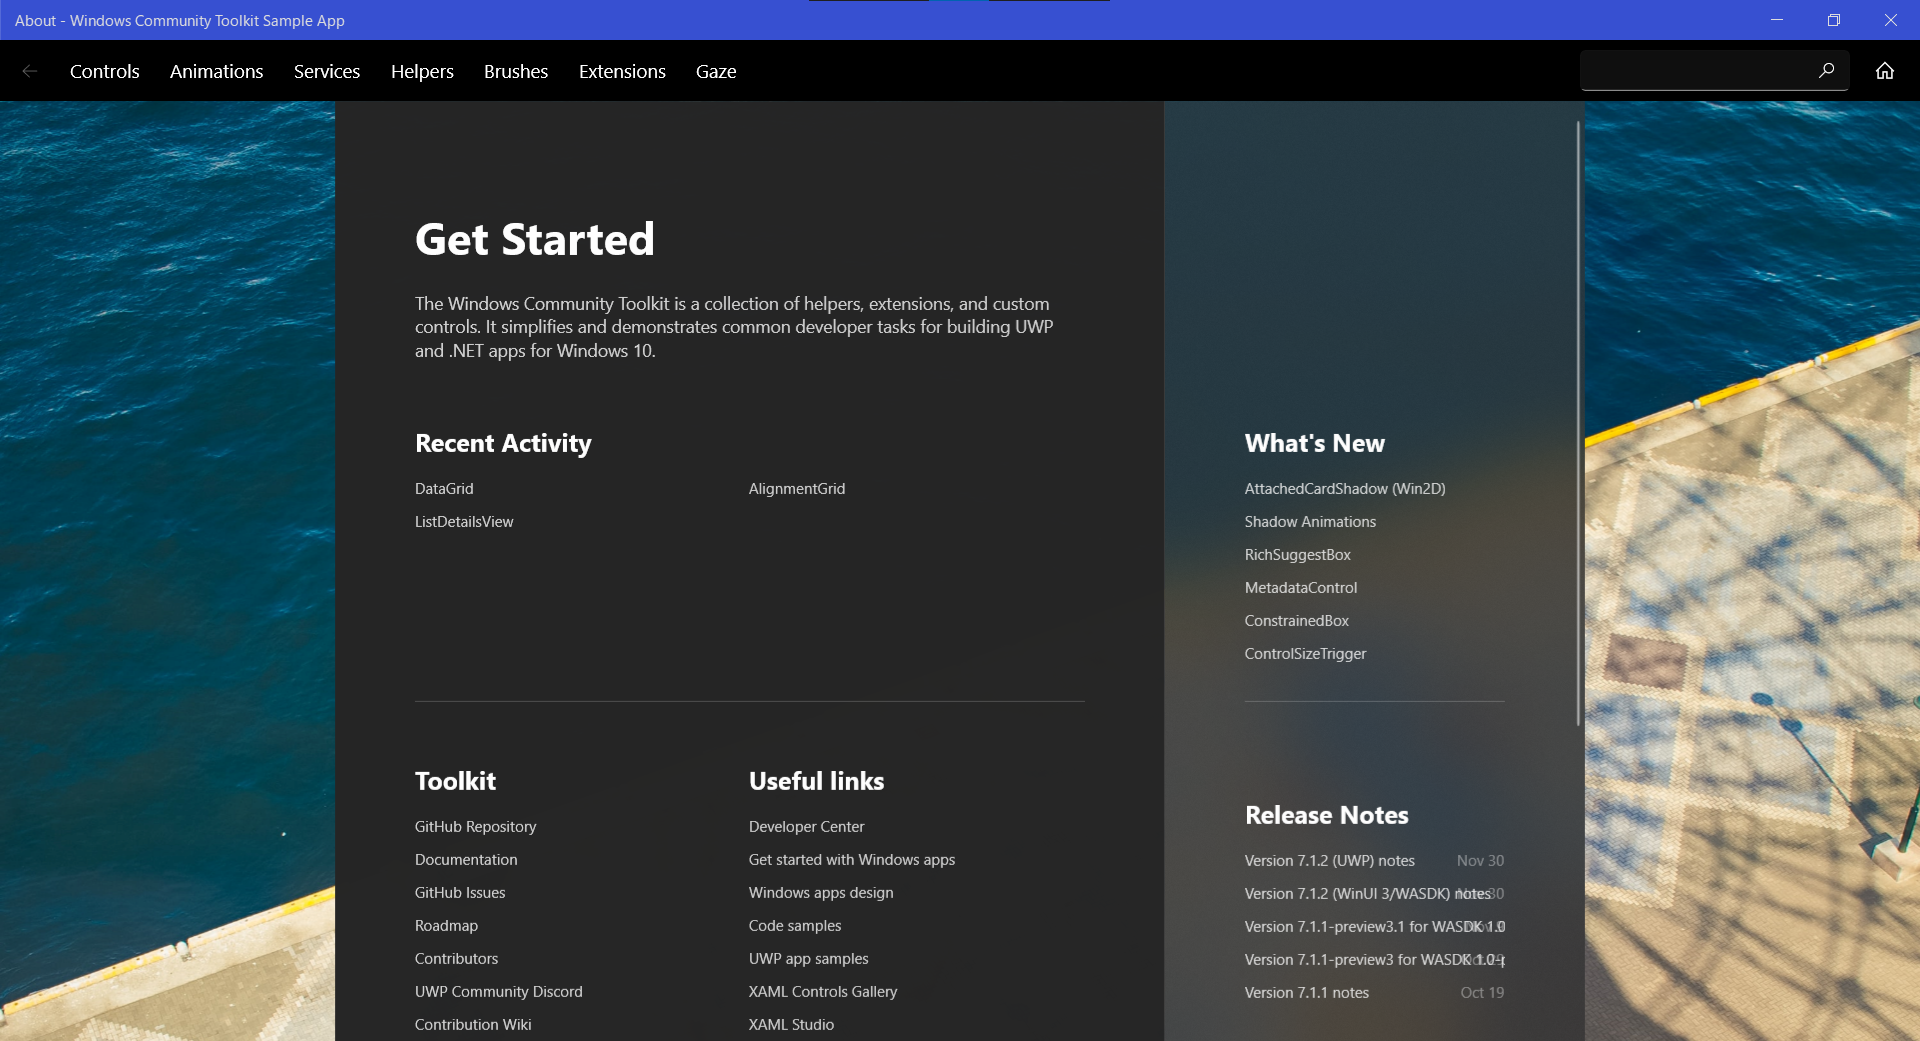
このWindows Community Toolkit Sample AppにはDataGridのサンプルも含まれていて動作を確認することができます。
WinUI 3アプリケーションにDataGridを実装してみる
では実際にWinUI 3アプリケーションにWindows Community ToolkitのDataGridを追加してみます。
WinUI 3アプリケーションの作成
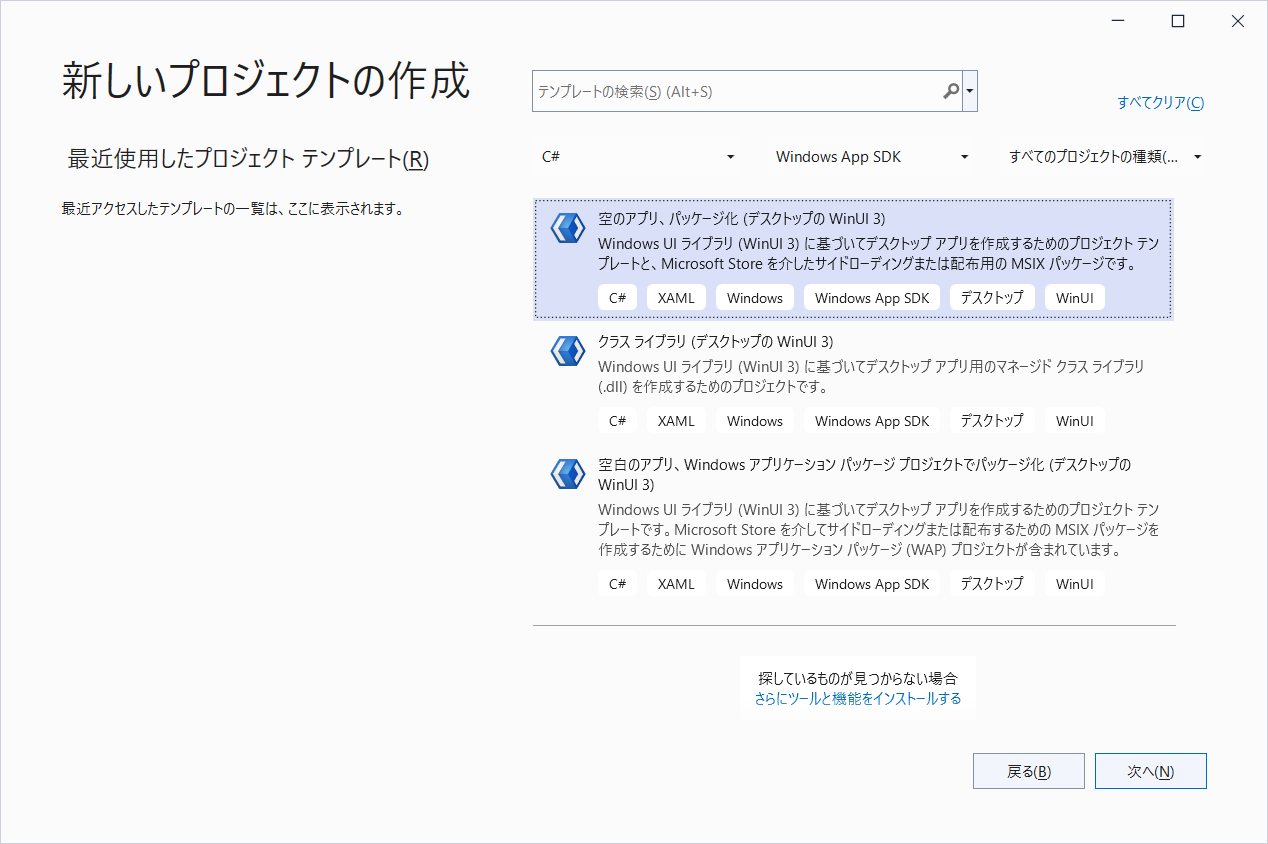
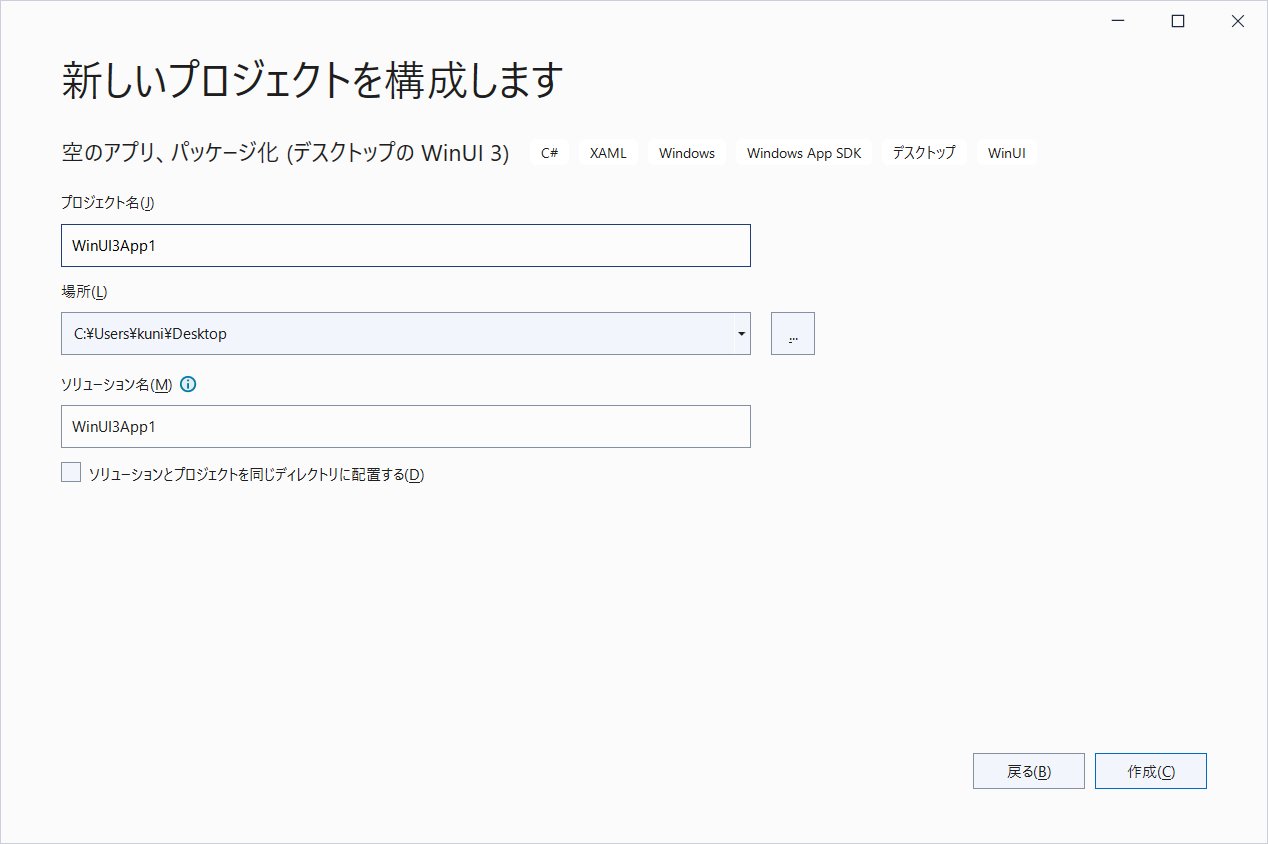
まず、Visual Studio 2022を起動してプロジェクトテンプレート「空のアプリ、パッケージ化 (デスクトップの WinUI 3 )」を選択し、WinUI 3アプリケーションを作成します。
NuGetパッケージの追加
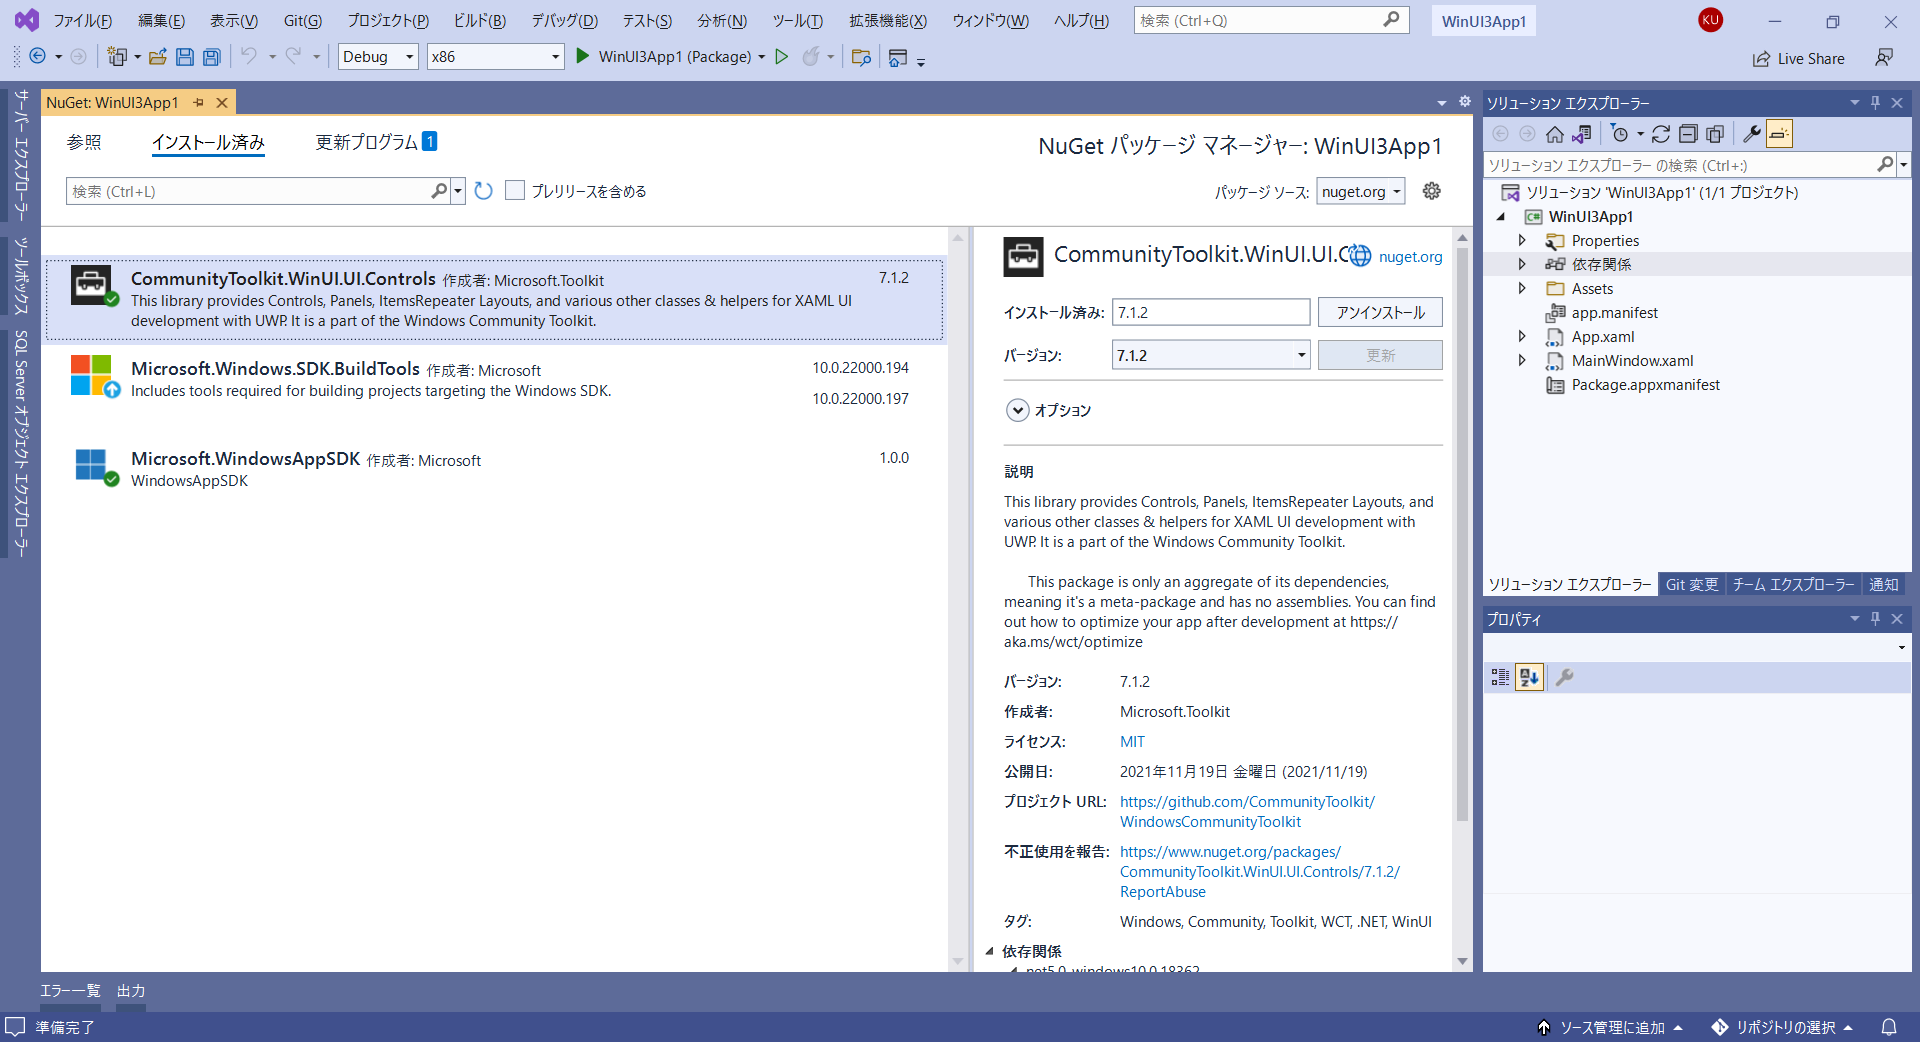
作成したプロジェクト「WinUI3App1」にWindows Community Toolkitのパッケージを追加します。ここでの注意点ですが、パッケージの名称が「Microsoft.Toolkit.***」となっているのは UWP用のWinUI 2向けのパッケージになります。WinUI 3用のパッケージは「CommunityToolkit.***」という名前になっています。詳しくは以下のコンテンツを参考にしてください。
今回は「CommunityToolkit.WinUI.UI.Controls」を追加します。
DataGridの追加
DataGridを追加するために「CommunityToolkit.WinUI.UI.Controls」への参照をMainWindow.xamlに設定します。
<Window
    x:Class="WinUI3App1.MainWindow"
    xmlns="http://schemas.microsoft.com/winfx/2006/xaml/presentation"
    xmlns:x="http://schemas.microsoft.com/winfx/2006/xaml"
    xmlns:local="using:WinUI3App1"
    xmlns:d="http://schemas.microsoft.com/expression/blend/2008"
    xmlns:mc="http://schemas.openxmlformats.org/markup-compatibility/2006"
    xmlns:controls="using:CommunityToolkit.WinUI.UI.Controls"
    mc:Ignorable="d">

    <StackPanel Orientation="Horizontal" HorizontalAlignment="Center" VerticalAlignment="Center">
        <Button x:Name="myButton" Click="myButton_Click">Click Me</Button>
    </StackPanel>
</Window>
これでDataGridを追加できるようになりました。StackPanelに追加されているButtonコントロールを削除してDataGridを追加します。
<Window
    x:Class="WinUI3App1.MainWindow"
    xmlns="http://schemas.microsoft.com/winfx/2006/xaml/presentation"
    xmlns:x="http://schemas.microsoft.com/winfx/2006/xaml"
    xmlns:local="using:WinUI3App1"
    xmlns:d="http://schemas.microsoft.com/expression/blend/2008"
    xmlns:mc="http://schemas.openxmlformats.org/markup-compatibility/2006"
    xmlns:controls="using:CommunityToolkit.WinUI.UI.Controls"
    mc:Ignorable="d">

    <StackPanel Orientation="Horizontal" HorizontalAlignment="Center" VerticalAlignment="Center">
        <controls:DataGrid x:Name="WinUI3DataGrid" />
    </StackPanel>
</Window>
データソースの追加
プロジェクトにDataSource.csを追加して、そこに新しいデータソース用のクラスCustomerを追加します。
public class Customer
{
    public int Id { get; set; }
    public string LastName { get; set; }
    public string FirstName { get; set; }
    public string Address { get; set; }
    public string PostalCode { get; set; }

    public Customer(int id, string firstName, string lastName, string address, string postalcode)
    {
        this.Id = id;
        this.FirstName = firstName;
        this.LastName = lastName;
        this.Address = address;
        this.PostalCode = postalcode;
    }

    public static List<Customer> Customers()
    {
        return new List<Customer>()
        {
            new Customer(1, "紫山", "太郎", "仙台市泉区紫山", "981-3205"),
            new Customer(2, "寺岡", "次郎", "仙台市泉区寺岡", "981-3204"),
            new Customer(3, "高森", "三郎", "仙台市泉区高森", "981-3203" ),
            new Customer(4, "桂", "四郎", "仙台市泉区桂", "981-3134" )
        };
    }
}
MainWindow.xaml.csでDataGridに上記のデータソースを設定します。データソースの設定方法はWPFやUWP、Xamarinなどと同じ感覚で設定できます。
public sealed partial class MainWindow : Window
{
    public MainWindow()
    {
        this.InitializeComponent();

        WinUI3DataGrid.ItemsSource = Customer.Customers();
    }
}上記はコードビハインドでItemSourceにデータを追加していますが、以下のコードのようにXAMLでItemSourceにデータを追加することもできます。
<Window
    x:Class="WinUI3App1.MainWindow"
    xmlns="http://schemas.microsoft.com/winfx/2006/xaml/presentation"
    xmlns:x="http://schemas.microsoft.com/winfx/2006/xaml"
    xmlns:local="using:WinUI3App1"
    xmlns:d="http://schemas.microsoft.com/expression/blend/2008"
    xmlns:mc="http://schemas.openxmlformats.org/markup-compatibility/2006"
    xmlns:controls="using:CommunityToolkit.WinUI.UI.Controls"
    mc:Ignorable="d">

    <StackPanel Orientation="Horizontal" HorizontalAlignment="Center" VerticalAlignment="Center">
        <controls:DataGrid x:Name="WinUI3DataGrid" ItemsSource="{x:Bind local:Customer.Customers() }" />
    </StackPanel>
</Window>
ビルドして実行してみる
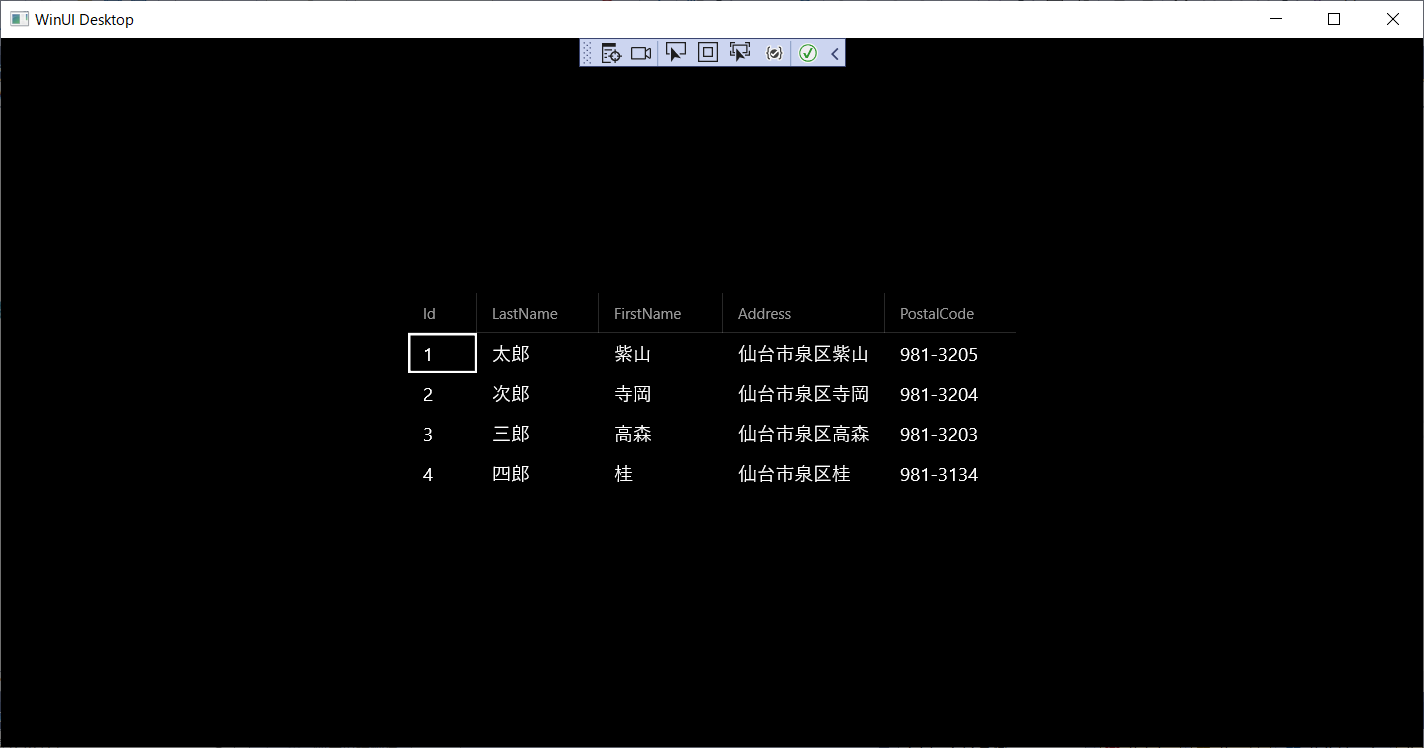
ここまででDataGridを追加したWinUI 3アプリケーションを作成できたので、ビルドして実行してみます。以下のようにDataGridにデータソースから追加したデータが表示されれば完成です。
さいごに
今回は初回ということでDataGridの追加方法を紹介しましたが、WPFやUWPでDataGridを使用していた方は特に違和感なくWinUI3のDataGridも実装できそうだと思いました。
WinUI 3のDataGridの機能については、引き続き次回以降の記事で紹介しています。