以前公開した記事では、PHPのWebアプリケーションフレームワーク「Laravel(ララベル)」の導入方法や、Web APIの作成方法をご紹介しました。
今回は上記の記事で作成したLaravelのアプリケーションのフロントエンドで、JavaScriptフレームワーク「Vue.js(ヴュー・ジェイエス)」と、弊社が提供するJavaScript開発ライブラリ「Wijmo(ウィジモ)」のデータグリッドコントロール「FlexGrid」を使用し、CRUD処理を行うアプリケーションを作成してみたいと思います。
Vue.jsの設定
LaravelでVue.jsを使用するために、ターミナルなどから以下のコマンドを実行し、「laravel/ui」パッケージをインストールします。
composer require laravel/ui次に以下のコマンドを実行し、Vue.jsのスキャフォールドを作成します。
php artisan ui vue次に以下のコマンドを実行し、npmからフロントエンド用のパッケージをインストールします。
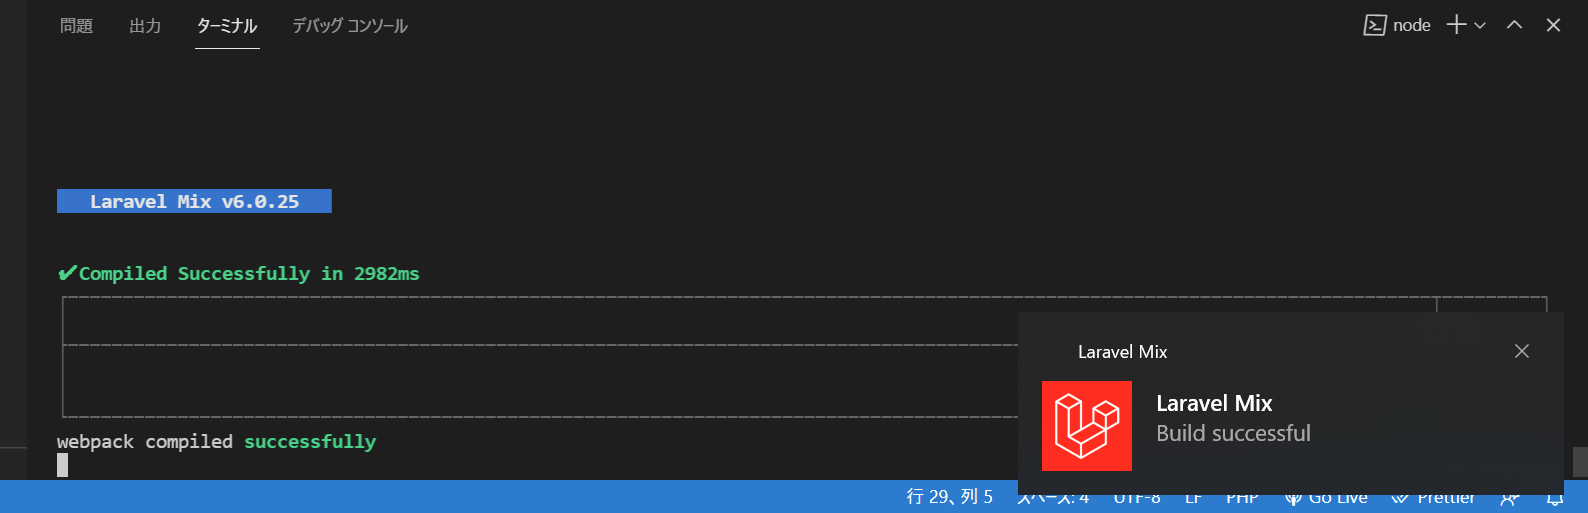
npm installパッケージのインストールが完了したら以下のコマンドでフロントエンド側のビルドを行います。
npm run devこの際、環境によってはエラーが発生する場合がありますが、その場合は再度同じコマンドを実行することで正常にビルドできます。
次に「resources/views/welcome.blade.php」ファイルを以下の内容に書き換え、Welcomeページの内容を変更します。
<!DOCTYPE html>
<html lang="ja">
<head>
    <meta charset="UTF-8">
    <meta name="csrf-token" content="{{ csrf_token() }}">
    <title>WijmoSample</title>
<link rel="stylesheet" href="{{ mix('css/app.css') }}">
</head>
<body>

    <div id="app">
        <example-component></example-component>
    </div>

<script src="{{ mix('js/app.js') }}"></script>
</body>
</html>
設定が完了したら以下のコマンドを実行してアプリケーションを起動してみます。
php artisan serve「http://127.0.0.1:8000」にアクセスすると、以下のような画面が表示されます。
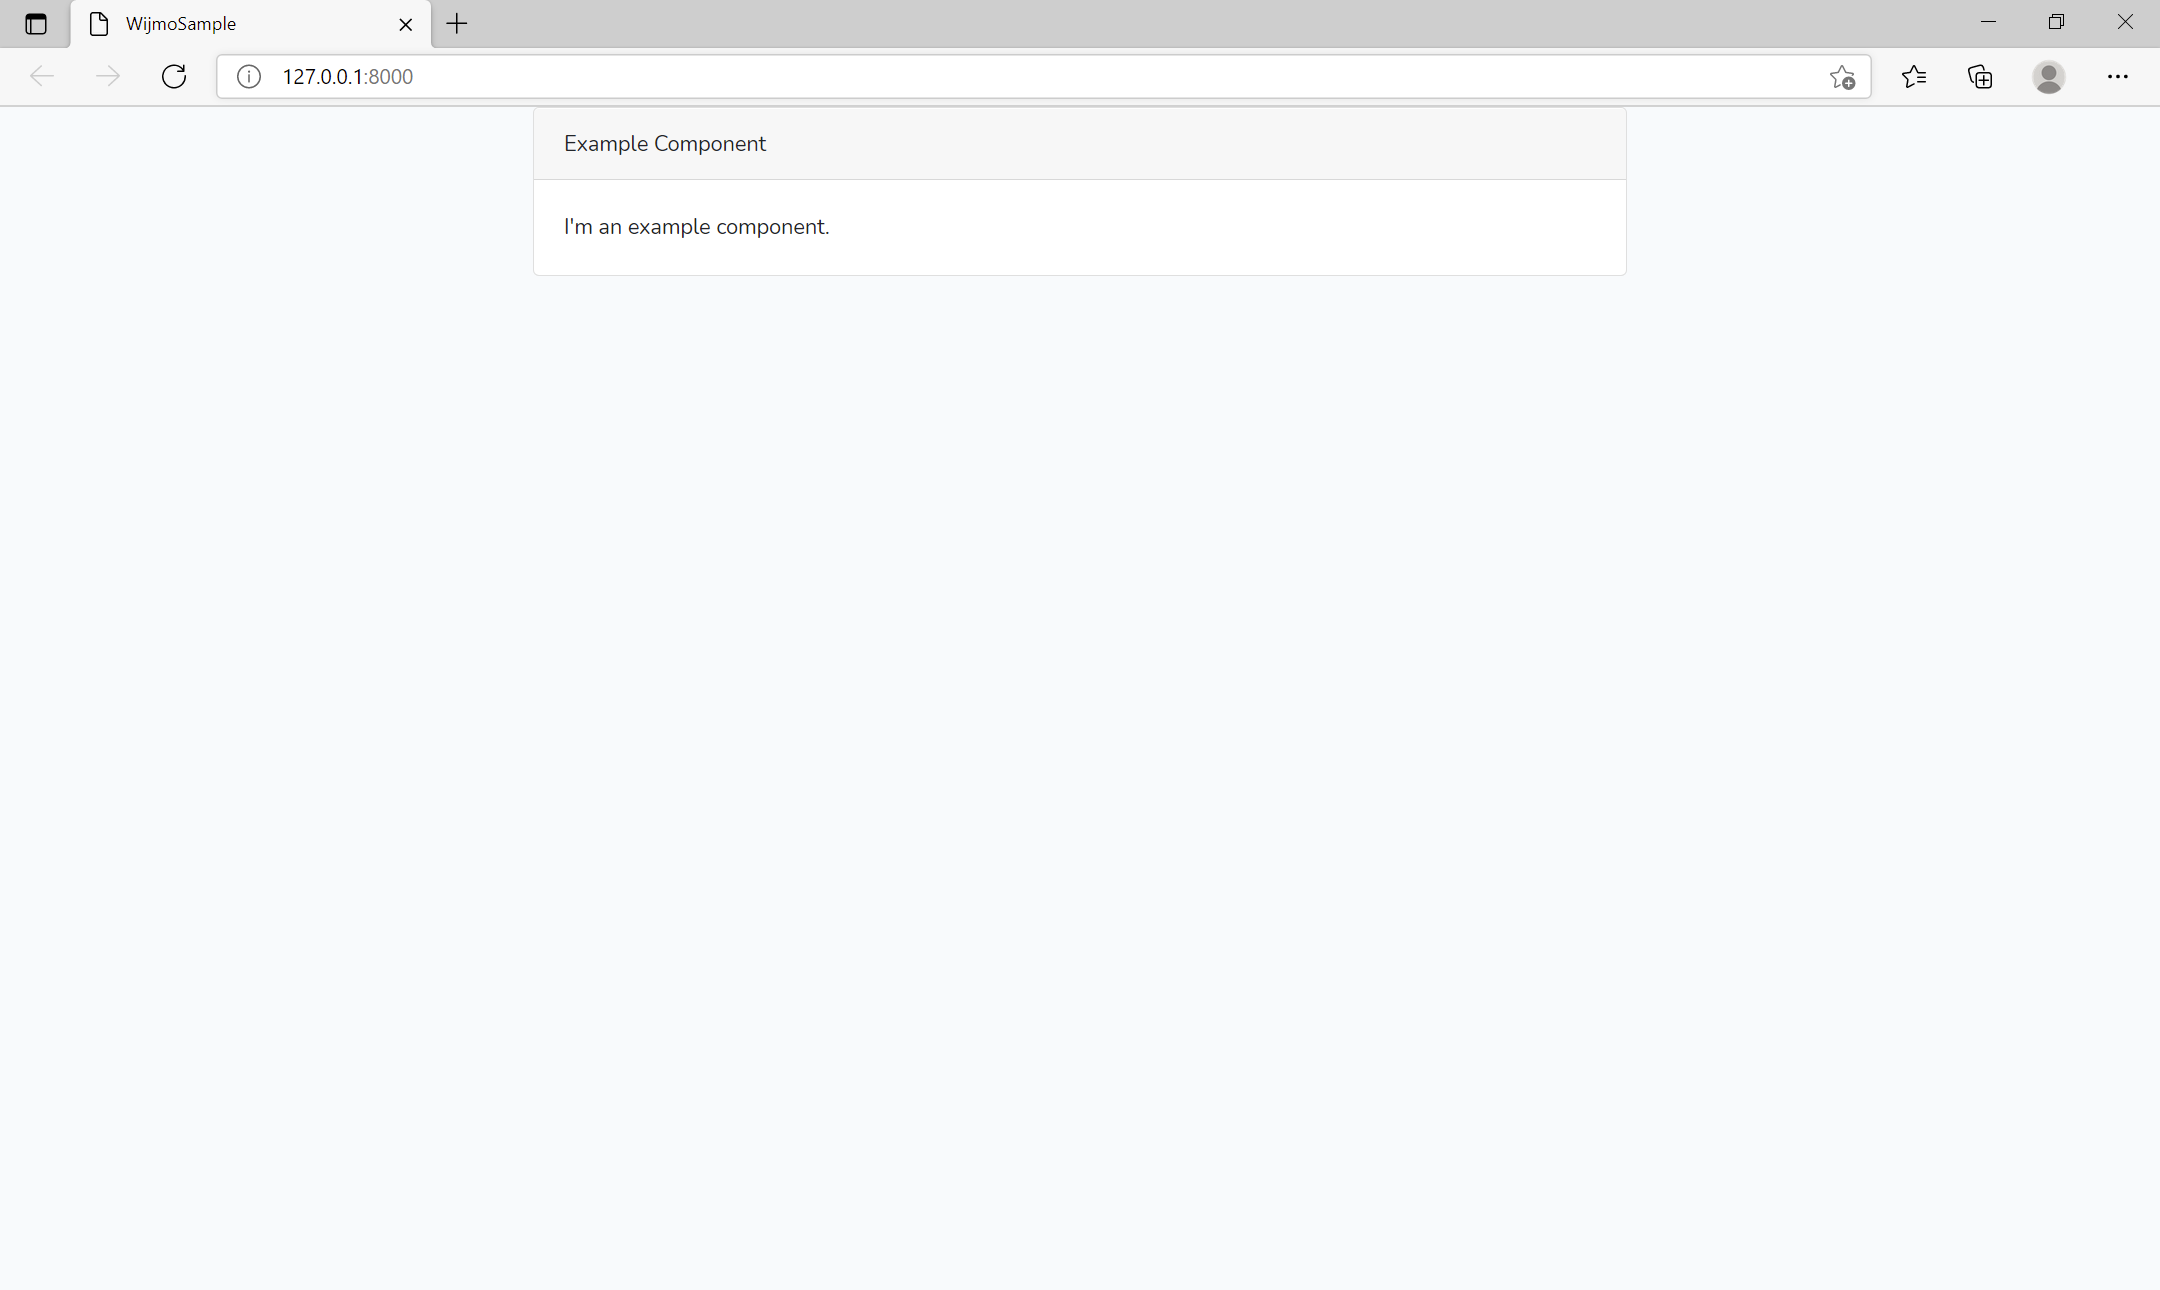
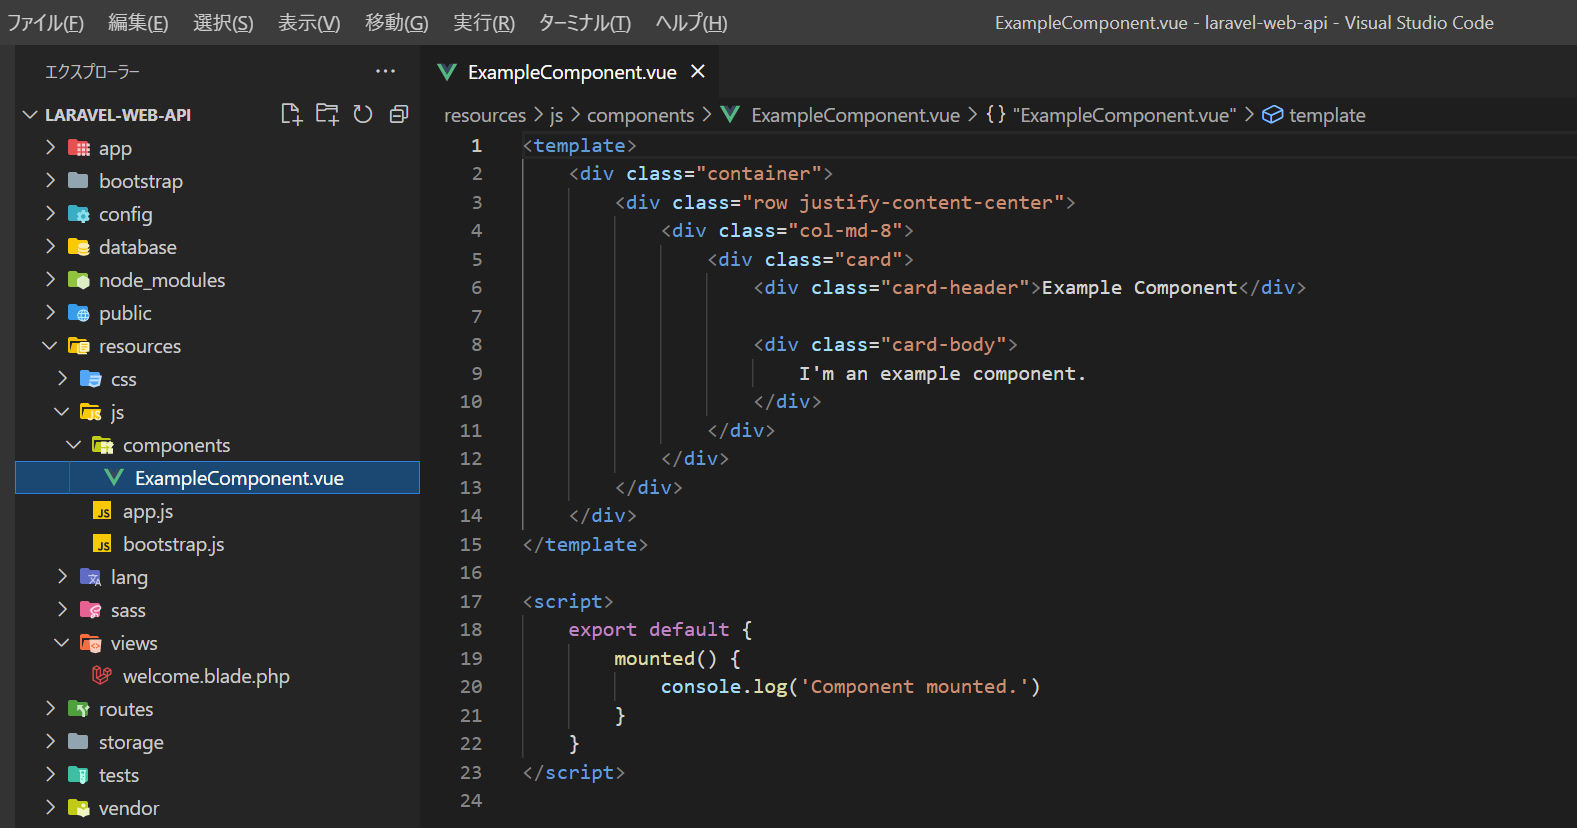
このWelcomeページには「resources/js/components/ExampleComponent.vue」ファイルに記載されている内容が表示されています。
WijmoのFlexGridの設定
以上でVue.jsの設定が完了したので、次はWijmoのFlexGridの設定を行います。まずは以下のコマンドを実行して、WijmoのVue.js用のパッケージをインストールします。
npm install @grapecity/wijmo.vue2.gridその後、先ほどの「resources/js/components/ExampleComponent.vue」ファイルの内容を以下のように書き換え、FlexGridの表示、及びCRUD処理の設定を行います。
APIの実行には、Vue.jsで推奨されている「axios」を使用しています。
<template>
  <div class="container">
    <button @click="update">グリッドデータを更新する</button>
    <h2>FlexGrid</h2>
    <wj-flex-grid
      :initialized="initializeGrid"
      :items-source="datas"
      :autoGenerateColumns="false"
      :allowAddNew="true"
      :allowDelete="true"
    >
      <wj-flex-grid-column binding="product" header="商品名" :width="200"/>
      <wj-flex-grid-column binding="order_date" header="受注日" :width="100"/>
      <wj-flex-grid-column binding="order_count" header="受注数" :width="80"/>
    </wj-flex-grid>
  </div>
</template>

<script>
import "@grapecity/wijmo.vue2.grid";
import "@grapecity/wijmo.styles/wijmo.css";
import { CollectionView } from "@grapecity/wijmo";

export default {
  data() {
    return {
      datas: [],
      grid: null,
    };
  },
  created() {
    axios
      .get("/api/items")
      .then((response) => {
        this.datas = new CollectionView(response.data, {
          trackChanges: true,
        });
      })
      .catch((error) => {
        console.log(error);
      });
  },
  methods: {
    initializeGrid: function (ctl) {
      this.grid = ctl;
    },
    update: function () {
      // Update:更新処理
      for (var i = 0; i < this.grid.itemsSource.itemsEdited.length; i++) {
        axios
          .patch("/api/items/" + this.grid.itemsSource.itemsEdited[i].id, this.grid.itemsSource.itemsEdited[i]
          )
          .then((response) => {
            console.log(response);
          })
          .catch((error) => {
            console.log(error);
          });
      }
      // Create:生成処理
      for (var i = 0; i < this.grid.itemsSource.itemsAdded.length; i++) {
        axios
          .post("/api/items", this.grid.itemsSource.itemsAdded[i] )
          .then((response) => {
            console.log(response);
          })
          .catch((error) => {
            console.log(error);
          });
      }
      // Delete:削除処理
      for (var i = 0; i < this.grid.itemsSource.itemsRemoved.length; i++) {
        axios
          .delete("/api/items/" + this.grid.itemsSource.itemsRemoved[i].id)
          .then((response) => {
            console.log(response);
          })
          .catch((error) => {
            console.log(error);
          });
      }
    },
  },
};
</script>
フロントエンドのコードを変更したので再度ビルドを行います。
npm run devビルドが完了したら再度アプリケーションを実行します。
php artisan serveCRUD処理の実行
参照(Read)
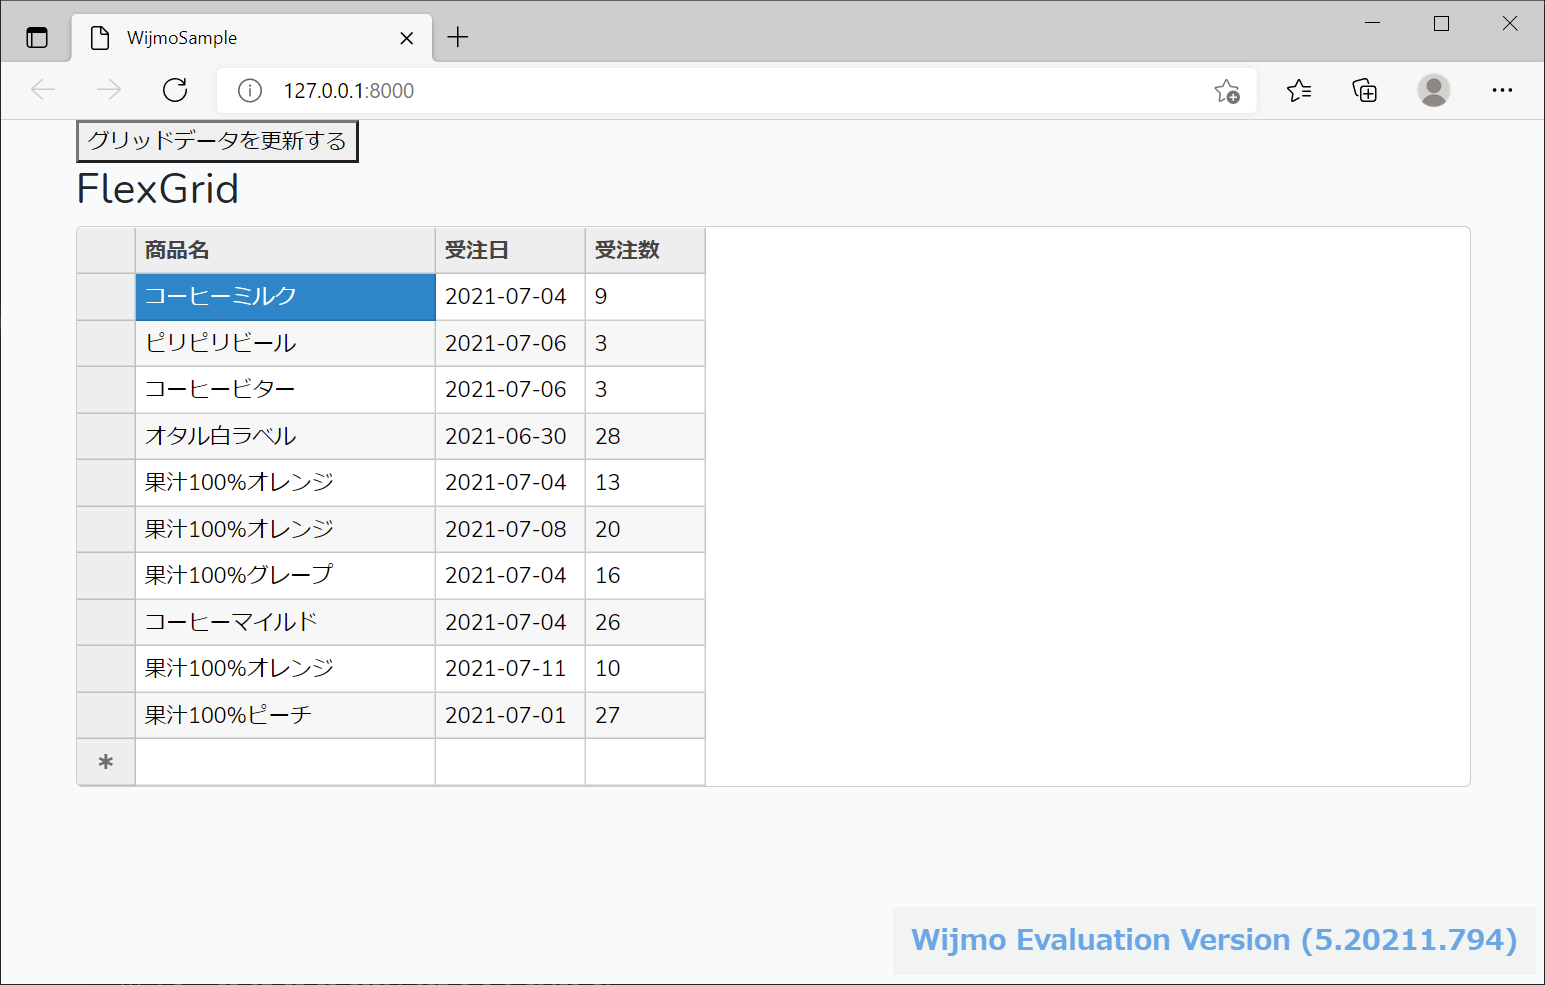
「http://127.0.0.1:8000」にアクセスすると、、以下のようにWijmoのFlexGrid上にWeb APIから取得したデータが表示されます。
登録(Create)
更新(Update)
削除(Delete)
さいごに
以上がLaravelでVue.jsとWijmoを使用したCRUDアプリケーションの作成方法でした。バックエンドの環境に関わらず、様々なWebアプリケーションで使用できるのがJavaScript開発ライブラリであるWijmoの魅力になります。
製品サイトでは、Wijmoの機能を手軽に体験できるデモアプリケーションやトライアル版も公開しておりますので、こちらもご確認ください。
また、ご導入前の製品に関するご相談、ご導入後の各種サービスに関するご質問など、お気軽にお問合せください。